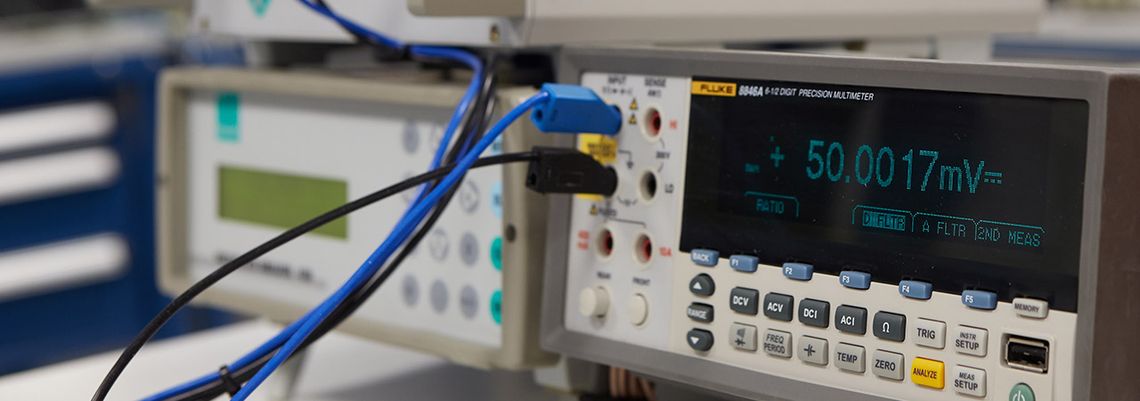
Temperature measurement in perfection
Calibration at the very highest level
As a manufacturer of quality temperature sensors, RECKMANN GMBH is backed by decades of experience in the field of temperature measurement technology. We incorporate our outstanding know-how consistently and with determination in the calibration of temperature sensors and temperature measuring instruments.
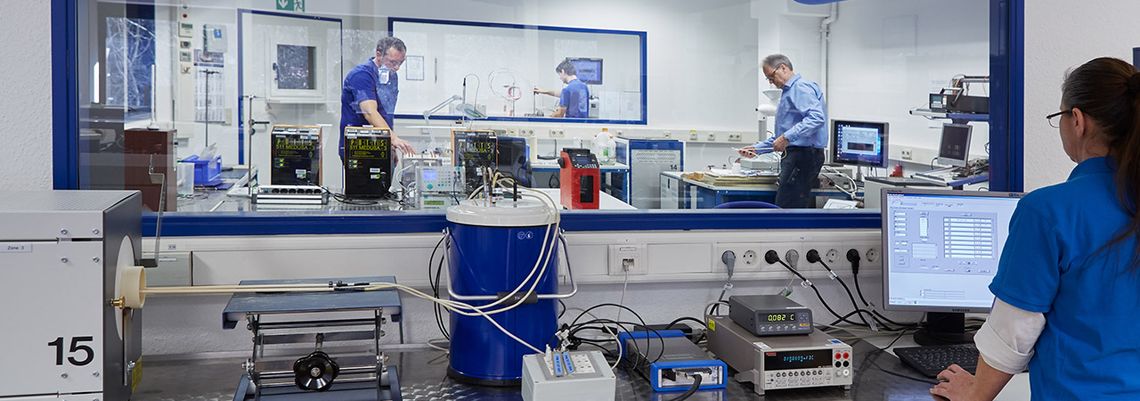
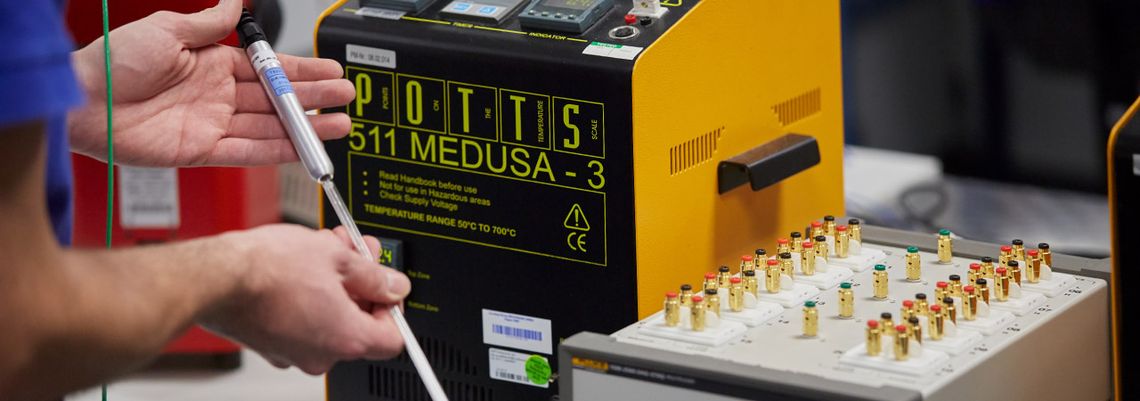
Our calibration laboratory encompasses a laboratory area of more than 300 m2 with a large number of calibration stations. We master calibration methods such as comparison methods and fixed point calibration to perfection and also do not shy away from comparison with other laboratories.
Our calibration team is characterised by genuine teamwork. This is where technical discussions and exchanges take place. We discuss the requirements with our customers and find the optimal solution together.
Our motivation
- Optimum calibration results for the benefit of our customers
Our characteristics
- Accreditation according to DIN EN 17025
- Outstanding technical equipment from renowned manufacturers
- First-class trained and highly skilled laboratory team
- Wide temperature range -80...+1600°C
- Excellent measurement uncertainties
Our strengths
- Wide temperature range -80...+1600°C
- Maximum flexibility
- Compliance with all current standards and guidelines (DIN-EN, CQI-9, AMS 2750G)
- Practical orientation and close customer proximity
- Adherence to deadlines
Our perspective
- Digitisation: Calibration certificates with electronic signature
- Digital transmission and processing of calibration data
- Modern platform for the provision of digital calibration data
Our edge
We work in technical committees, commissions and working groups. We are involved in the design of new guidelines and standards. We recognise the requirements of the future and incorporate them into our calibration services.
Scope of services of the calibration laboratory of RECKMANN GMBH
Status May 2023
Permanent calibration laboratory
Calibration object | Temperature range |
| Smallest possible measurement uncertainty *) |
Thermocouple assembly precious Type S, R and B | -50…+1600°C | Comparative calibration
In calibration baths and calibration furnaces | -50…+300°C ±0,3K +300…+550°C ±1K +50°C …+1100°C ±1,3K +1100°C … +1200°C ±2.3K +1200°C … +1400°C ±2.5K +1400°C … +1600°C ±3.5K |
660.323 °C 961.78 °C 1084.62 °C | Fixed point calibration Aluminium melting point Silver solidification point Copper solidification point |
0.5K 0.6K 0.7K | |
Thermocouple assembly non-precious Type J, T, K, N, E | -80…+1300°C | Comparative calibration
In calibration baths and calibration furnaces | -80…+300°C ±0,3K +300…+550°C ±1K +50°C …+1100°C ±1.K +1100°C … +1200°C ±2.5K +1200°C … +1300°C ±3.5K |
660.323 °C 961.78 °C 1084.62 °C | Fixed point calibration Aluminium melting point Silver solidification point Copper solidification point |
0.6K 0.8K 0.9K |
Calibration object | Temperature range |
| Smallest possible measurement uncertainty *) |
Resistance thermometers Pt100, Pt1000 etc.
| -196°C | Liquid nitrogen | 0,1K |
-80…+550°C | Comparative calibration In calibration baths | -80…+200°C ± 50mK +200…+550°C ±0.1K | |
0.01°C 29.7646°C 231.928°C 419.527°C 660.323 °C | Fixed point calibration Water triple point Gallium melting point Tin melting point Zinc melting point Aluminium melting point |
25mK 25mK 25mK 25mK 70mK |
Calibration object | Temperature range |
| Smallest possible measurement uncertainty *) |
Temperature indicators, temperature simulators for resistance thermometers | -200…+850°C |
| ± 50mK |
Temperature indicators, temperature simulators for thermocouple assemblies precious | -50…+1820°C |
| ±0.4K |
Temperature indicators, temperature simulators for thermocouple assemblies non-precious | -270…+1370°C |
| ±0.4K |
*) Please note that the smallest possible measurement uncertainty is not necessarily feasible for every calibration object and may become less favourable in a specific application.
On-site calibration
Calibration object | Temperature range |
| Smallest possible measurement uncertainty *) |
Thermocouple assembly precious Type S, R and B | -50…+1100°C | Comparative calibration in metal block calibrators | -50…+100°C ±0,7K >100…+200°C ±0,8K >200°C …+300°C ±0,9K >300°C … +650°C ±1,3K >650°C … +850°C ±3,0K >850°C … +1100°C ±5,0K |
Thermocouple assembly non-precious Type J, T, K, N, E | -50…+1100°C | Comparative calibration in metal block calibrators | -50…+100°C ±0,7K >100…+200°C ±0,8K >200°C …+300°C ±0,9K >300°C … +650°C ±1,3K >650°C … +850°C ±3,0K >850°C … +1100°C ±5,0K |
Calibration object | Temperature range |
| Smallest possible measurement uncertainty *) |
Resistance thermometers Pt100, Pt1000 etc. | -50…+650°C | Comparative calibration in metal block calibrators | -50…+100°C ± 0.3K +100…+200°C ±0.4K +100…+300°C ±0.6K +300…+650°C ±1.0K |
Calibration object | Temperature range |
| Smallest possible measurement uncertainty *) |
Temperature indicators, temperature simulators for resistance thermometers | -200…+850°C |
| ± 0.1K |
Temperature indicators, temperature simulators for thermocouple assemblies precious | -50…+1820°C |
| ±0.6K |
Temperature indicators, temperature simulators for thermocouple assemblies non-precious | -270…+1370°C |
| ±0.6K |
*) Please note that the smallest possible measurement uncertainty is not necessarily feasible for every calibration object and may become less favourable in a specific application.
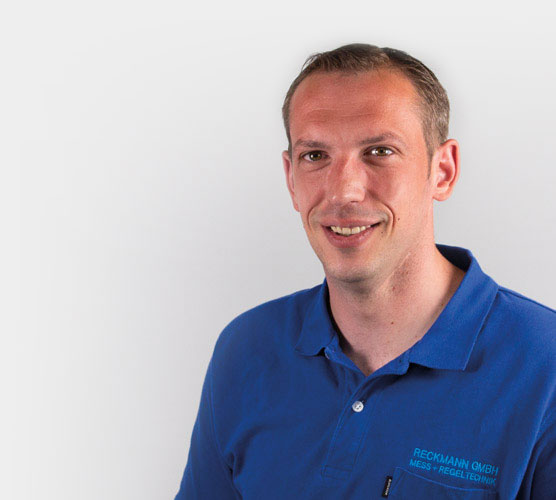
Dr. rer. nat. Patrick Mehring
Head of Calibration Laboratory
Telephone: +49 (0) 2331 3501-85
E-mail: mehring@reckmann.de
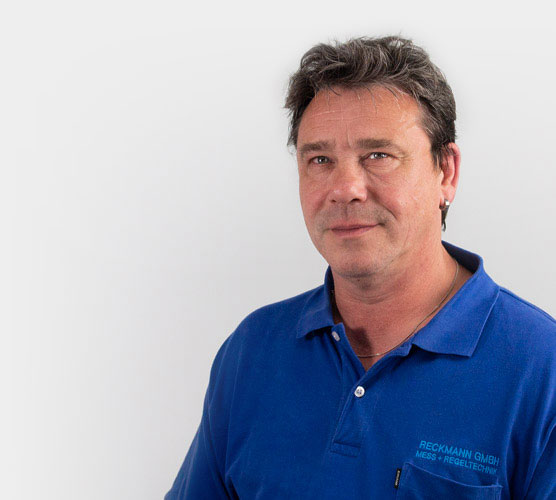
René Heichen
Deputy Head of Calibration Laboratory,
Software Applications Measurement Technology
Telephone: +49 (0) 2331 3501-384
E-mail: heichen@reckmann.de
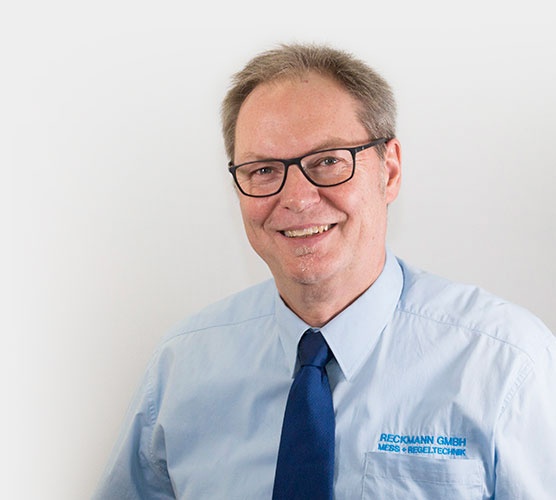
Dipl.-Ing (FH) Herbert Neumann
Measurement and Calibration Representative
Telephone: +49 (0) 2331 3501-14
E-mail: neumann@reckmann.de
